
Raise your hand if you'd like a FREE massage at home! Foam rolling is like having a personal massage therapist -- free of charge! It's all about breaking up the lactic acid that builds (and sits) between your muscles after a strenuous workout. All while helping you relax and letting your muscles repair.
But, how do you get started with this crazy contraption?
Step One: Don't be afraid!
Foam rolling shouldn’t hurt…too bad! It should feel similar to a deep tissue massage. If you are feeling a lot of pain, ease off. Contrary to popular belief, foam rolling isn’t about “no pain, no gain.” If you’re trying to roll out a sore area, spend about 20 seconds on it tops. Anything more than that might cause more harm than good.
Step Two: Know when to roll.
A good rule of thumb for those new to rolling, is to break out the foam roller twice a week after a tough workout. If you’re more advanced in your fitness regime rolling should be a part of your warm-up, especially if you are a runner or cyclist.
Step Three: Know what to avoid.
You should shy away from rolling over bones and joints. Foam rolling should focus on muscle groups like your quads, glutes, adductors (inner thighs), shoulders etc. You should also avoid foam rolling directly on the location of your pain. Sometimes, where you feel the pain is not always the source. Instead of focusing directly on the location of the pain, work around the area, slowly working toward the center of the pain.
Step Four: Focus on form.
It can be easy to let your form drop while rolling. You’re likely to roll it out after an intense workout, your tired and sweaty, and ready to stop. But, don’t…your body needs this! (If you are really too tired, take a break cool down and come back to rolling after a little rest.) Staying focused on form is the more important part of rolling. You’ll engage multiple parts of your body during a rolling session. Break out that phone and record yourself, it’ll provide immediate feedback on your form so you’ll know what to correct for the next session.
Step Five: Just roll with it. Literally, just start rolling.
Check out these 5 rolling moves you can start today!
Calves – While sitting, legs stretched out put the foam roller under a calf. Rest the other foot on the floor, knee bent, foot placed next to your inner thigh. Place your hands behind you. Roll from your ankle to below your knee. Roll for about a minute. Switch legs.
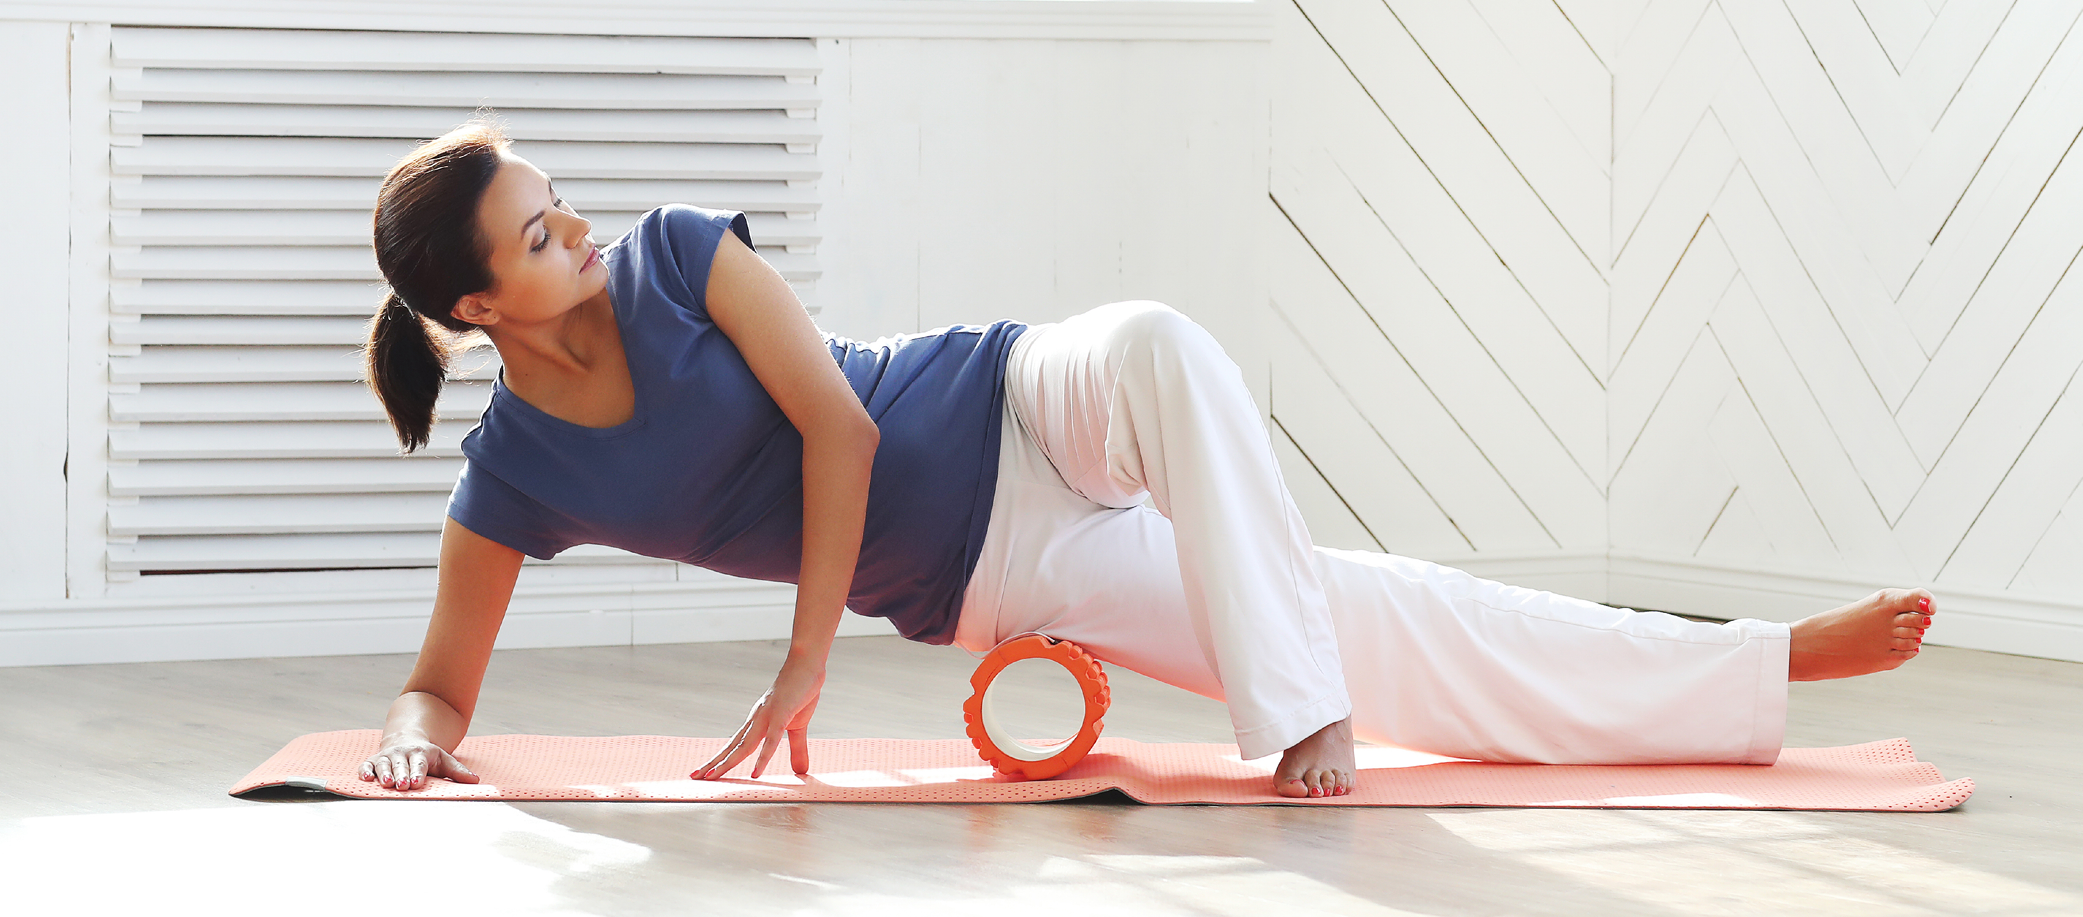
Quads – Get in a plank position resting on your forearms. Place the foam roller under your thighs. Rolling back and forth on both legs stopping about an inch above your knees. For a more advanced move, lift one leg slightly in the air focusing on only one leg. And switch.
Adductors (inner thigh) – Lie on your stomach with one leg slightly bent to the side. Place the foam roller in the groin area of the bent let and roll toward the knee. Stopping about one inch from the knee. Switch legs.
Hamstrings – While sitting, legs stretched out put the foam roller under both thighs. Place your hands behind you and slightly lift your bottom into the air. Roll from your knees to the buttocks. For a more advanced move, place one ankle on top of the other and roll one leg at a time.
Shoulder and Spine – Lie on your back, position the foam roller directly on your spine. Bend your knees placing your feet on the floor. Move your arms up and down (pretend you are making snow angels). Continue this motion for about 20 seconds, then rest your arms and breathe for another 20 seconds.
Foam rolling hurts a little, but it’s worth it! You’ll notice it’ll become easier and you’ll start to recover faster.